本文记录我使用 ColorCode 开源库简单做一个代码着色器
开源库地址: https://github.com/CommunityToolkit/ColorCode-Universal
我用的是 ColorCode.Core 版本,这个版本是无具体 UI 框架依赖的,于是我就在此基础上,同时做了 WPF 和 Avalonia 框架的版本。这两个框架在对 ColorCode 的使用上近乎毫无差别,大家可以在本文末尾找到本文所有代码的下载方法,下载本文的代码了解两个框架的差异
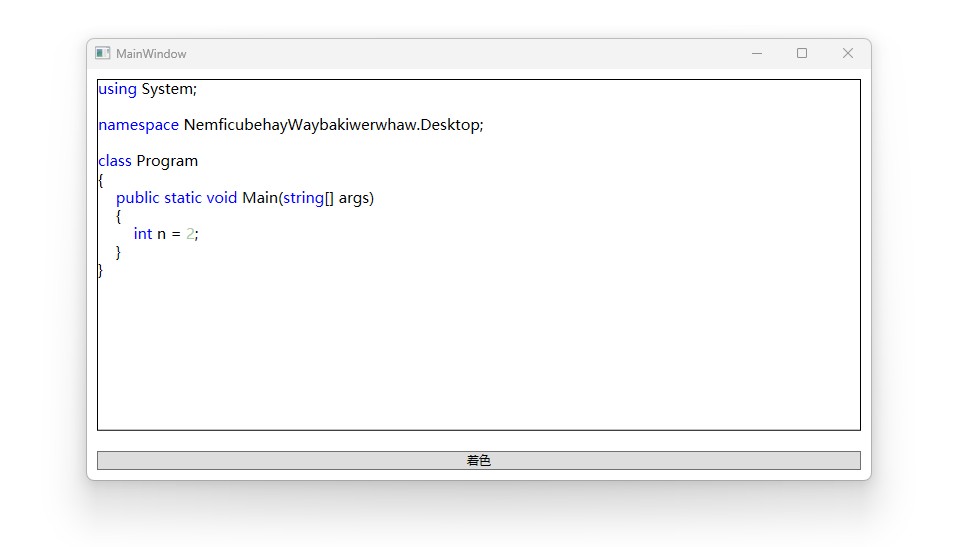
以下为 WPF 版本的效果图
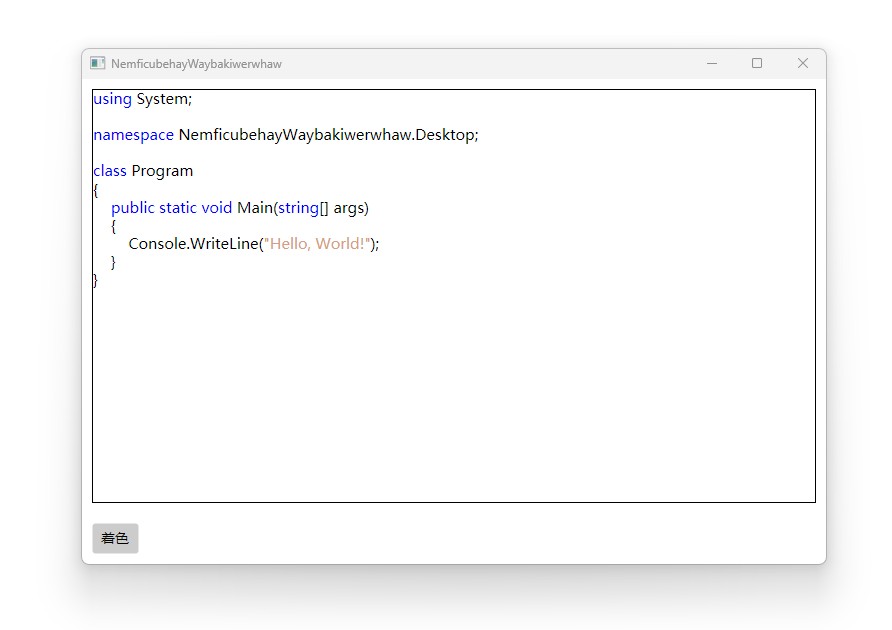
以下为 Avalonia 版本的效果图
以下是具体的测试逻辑。由于 WPF 和 Avalonia 版本代码几乎没有差别,我这里就使用 WPF 为例子进行演示,完全的代码还请到本文末尾找到下载方法
以下是我编写的一段用来做测试的 C# 测试代码
        var code = """                   using System;
                   namespace NemficubehayWaybakiwerwhaw.Desktop;
                   class Program                   {                       public static void Main(string[] args)                       {                           Console.WriteLine("Hello, World!");                       }                   }                   """;
咱接下来将对此代码进行着色
编写一个名为 TextEditorCodeColorizer 的类型,让此类型继承 CodeColorizerBase 类型。在此类型里面重写 Write 方法
class TextEditorCodeColorizer : CodeColorizerBase{ protected override void Write(string parsedSourceCode, IList<Scope> scopes) { ... // 忽略其他代码 }为了能够进行承载着色的代码,我这里使用了之前编写的简单文本库。将其设置进入 TextEditorCodeColorizer 的构造函数,代码如下
class TextEditorCodeColorizer : CodeColorizerBase{    public TextEditorCodeColorizer(TextEditor textEditor, StyleDictionary styles, ILanguageParser languageParser) : base(styles, languageParser)    {        _textEditor = textEditor;    }
    private readonly TextEditor _textEditor;}
对于使用方来说,创建 TextEditorCodeColorizer 的代码如下
ILanguage language = Languages.CSharp; var textEditorCodeColorizer = new TextEditorCodeColorizer(TextEditor, null, null);是的,构造函数的 StyleDictionary 和 ILanguageParser 都传空即可,这个库没有很好处理可空问题
再编写 FormatInlines 方法,让此方法作为接收输入方,代码如下
class TextEditorCodeColorizer : CodeColorizerBase{    public void FormatInlines(string sourceCode, ILanguage language)    {        _textEditor.TextEditorCore.Remove(_textEditor.TextEditorCore.GetAllDocumentSelection());
        languageParser.Parse(sourceCode, language, (parsedSourceCode, captures) => Write(parsedSourceCode, captures));    }}
具体的调用方法如下
ILanguage language = Languages.CSharp; var textEditorCodeColorizer = new TextEditorCodeColorizer(TextEditor, null, null); textEditorCodeColorizer.FormatInlines(code, language);在 protected override void Write(string parsedSourceCode, IList<Scope> scopes) 方法里面根据 Scope 决定使用什么颜色,代码如下
    protected override void Write(string parsedSourceCode, IList<Scope> scopes)    {        SolidColorBrush colorBrush = Brushes.Black;
        if (scopes.Count > 0)        {            var name = scopes[0].Name;            if (name == "Keyword")            {                colorBrush = Brushes.Blue;            }            else if (name == "String")            {                colorBrush = BrushCreator.CreateFromARGB(0xFFD69D7F);            }            else if (name == "Number")            {                colorBrush = BrushCreator.CreateFromARGB(0xFFADCDA8);            }            else            {
            }        }
        var runProperty = ((RunProperty) _textEditor.CurrentCaretRunProperty) with        {            Foreground = new ImmutableBrush(colorBrush)        };        _textEditor.AppendRun(new TextRun(parsedSourceCode, runProperty));    }
以上的 BrushCreator 的实现如下
public static class BrushCreator{ public static SolidColorBrush CreateFromARGB(uint argbHex) { byte a = (byte) ((argbHex & 0xFF000000) >> 24); byte r = (byte) ((argbHex & 0x00FF0000) >> 16); byte g = (byte) ((argbHex & 0x0000FF00) >> 8); byte b = (byte) (argbHex & 0x000000FF); var brush = new SolidColorBrush(Color.FromArgb(a, r, g, b)); return brush; }}在 Avalonia 版本里面,直接使用 Skia 作为绘制底层,使用 SKColor.Parse 进行转换颜色字符串,就不需要和 WPF 一样有额外的 BrushCreator 方法,代码如下
    protected override void Write(string parsedSourceCode, IList<Scope> scopes)    {        SKColor color = SKColors.Black;
        if (scopes.Count > 0)        {            var name = scopes[0].Name;            if (name == "Keyword")            {                color = SKColors.Blue;            }            else if(name == "String")            {                color = SKColor.Parse("D69D7F");            }            else if(name == "Number")            {                color = SKColor.Parse("ADCDA8");            }            else            {
            }        }
        _textEditor.AppendRun(new SkiaTextRun(parsedSourceCode, _textEditor.CurrentCaretRunProperty with        {            Foreground = color        }));    }
本文代码放在 github 和 gitee 上,可以使用如下命令行拉取代码。我整个代码仓库比较庞大,使用以下命令行可以进行部分拉取,拉取速度比较快
先创建一个空文件夹,接着使用命令行 cd 命令进入此空文件夹,在命令行里面输入以下代码,即可获取到本文的代码
git initgit remote add origin https://gitee.com/lindexi/lindexi_gd.gitgit pull origin 5ba7a51c4f77e516eca886192fbbea4fe90d4a4f以上使用的是国内的 gitee 的源,如果 gitee 不能访问,请替换为 github 的源。请在命令行继续输入以下代码,将 gitee 源换成 github 源进行拉取代码。如果依然拉取不到代码,可以发邮件向我要代码
git remote remove origingit remote add origin https://github.com/lindexi/lindexi_gd.gitgit pull origin 5ba7a51c4f77e516eca886192fbbea4fe90d4a4f获取代码之后,进入 AvaloniaIDemo/NemficubehayWaybakiwerwhaw 文件夹,即可获取到源代码
更多技术博客,请参阅 博客导航

本作品采用 知识共享署名-非商业性使用-相同方式共享 4.0 国际许可协议 进行许可。 欢迎转载、使用、重新发布,但务必保留文章署名 林德熙 (包含链接: https://blog.lindexi.com ),不得用于商业目的,基于本文修改后的作品务必以相同的许可发布。如有任何疑问,请与我 联系。