横向布局
默认 ListView 是垂直,那么如何让 ListView 水平?
可以使用下面代码
<ListView.ItemsPanel> <ItemsPanelTemplate> <StackPanel Orientation="Horizontal"></StackPanel> </ItemsPanelTemplate> </ListView.ItemsPanel>设置代码可以进行横向。
如果发现 UWP ListView 横向没有滚动条,可以使用 ScrollViewer 添加
<ListView ScrollViewer.VerticalScrollBarVisibility="Disabled" ScrollViewer.HorizontalScrollBarVisibility="Auto" ScrollViewer.HorizontalScrollMode="Enabled" ScrollViewer.VerticalScrollMode="Disabled">使用从左到右放元素
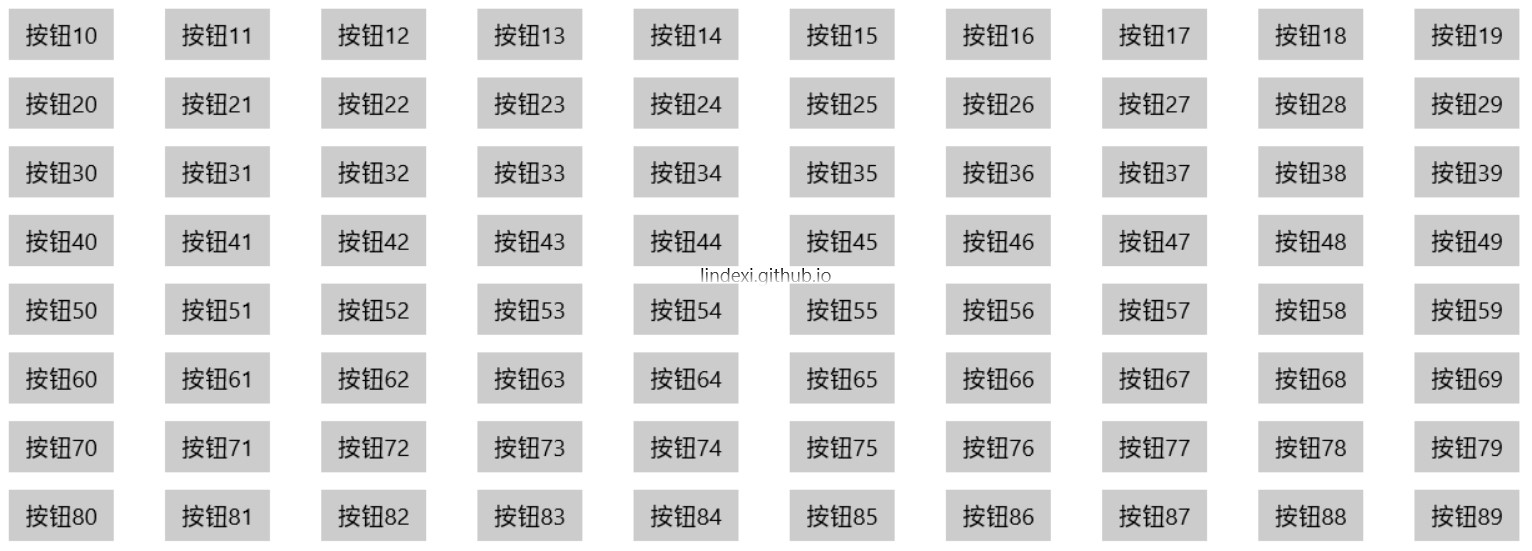
实际上 ItemsPanelTemplate 可以放很多个类型,如 WrapGrid 和 ItemsWrapGrid ,下面我告诉大家如何做出这个效果
<ListView.ItemsPanel> <ItemsPanelTemplate> <ItemsWrapGrid Orientation="Horizontal"></ItemsWrapGrid> </ItemsPanelTemplate> </ListView.ItemsPanel>这时可以设置元素的宽度,或者高度,这样可以做出下面的效果。
选中显示元素
有一些元素是要 Item 选中显示,不选中不显示
如何绑定到Item 的状态,是否被选中?
如果可以写在后台代码多的话,一个简单的方法是在SelectionChanged直接让 AddItems 的显示,其他不显示。
如何想要定义样式,可以参见:https://msdn.microsoft.com/en-us/library/windows/apps/mt299136.aspx
首先把代码复制下来,然后修改 Selected 的动画,添加自己元素在ControlTemplate,看起来就是
<ControlTemplate TargetType="ListViewItem"> <Grid> <ContentPresenter ></ContentPresenter> <Button x:Name="b" Opacity="0" HorizontalAlignment="Center" Content="显示"></Button> <VisualStateManager.VisualStateGroups> <VisualStateGroup x:Name="SelectionStates"> <!--<VisualState x:Name="Unselecting"> <Storyboard BeginTime="0:0:0"> <DoubleAnimation Storyboard.TargetName="b" Storyboard.TargetProperty="Opacity" Duration="0:0:0.1" To="0" /> </Storyboard> </VisualState>--> <VisualState x:Name="Unselected"> <Storyboard BeginTime="0:0:0"> <DoubleAnimation Storyboard.TargetName="b" Storyboard.TargetProperty="Opacity" Duration="0" To="0" /> </Storyboard> </VisualState> <VisualState x:Name="Selected"> <Storyboard BeginTime="0:0:0"> <DoubleAnimation Storyboard.TargetName="b" Storyboard.TargetProperty="Opacity" Duration="0" To="1" /> </Storyboard> </VisualState> </VisualStateGroup> </VisualStateManager.VisualStateGroups> </Grid> </ControlTemplate>上面代码的元素 b 就是加上去的元素,参见他的做法,可以看到这个方法可以在 选择时显示,但是我无法在不选择时隐藏,原因没找到。
根据上面代码,可以做很小修改,在选择改变时,手动使用变化。
首先把 Selected 改为 CustomSelected 现在的代码换为
<ControlTemplate TargetType="ListViewItem"> <Grid> <ContentPresenter ></ContentPresenter> <Button x:Name="b" Opacity="0" HorizontalAlignment="Center" Content="显示"></Button> <VisualStateManager.VisualStateGroups> <VisualStateGroup x:Name="SelectionStates"> <!--<VisualState x:Name="Unselecting"> <Storyboard BeginTime="0:0:0"> <DoubleAnimation Storyboard.TargetName="b" Storyboard.TargetProperty="Opacity" Duration="0:0:0.1" To="0" /> </Storyboard> </VisualState>--> <VisualState x:Name="CustomUnselected"> <Storyboard BeginTime="0:0:0"> <DoubleAnimation Storyboard.TargetName="b" Storyboard.TargetProperty="Opacity" Duration="0" To="0" /> </Storyboard> </VisualState> <VisualState x:Name="CustomSelected"> <Storyboard BeginTime="0:0:0"> <DoubleAnimation Storyboard.TargetName="b" Storyboard.TargetProperty="Opacity" Duration="0" To="1" /> </Storyboard> </VisualState> </VisualStateGroup> </VisualStateManager.VisualStateGroups> </Grid> </ControlTemplate>在列表的选择改变时,需要在后台代码写
var listView = (sender as ListView); if (listView == null) { return; } if (e.AddedItems != null) { foreach (var item in e.AddedItems) { Debug.WriteLine(item); ListViewItem litem = listView.ContainerFromItem(item) as ListViewItem; if (litem != null) { VisualStateManager.GoToState(litem, "CustomSelected", true); } } } if (e.RemovedItems != null) { foreach (var item in e.RemovedItems) { Debug.WriteLine(item); ListViewItem litem = listView.ContainerFromItem(item) as ListViewItem; if (litem != null) { VisualStateManager.GoToState(litem, "CustomUnselected", true); } } }这个方法是比较差的,但是可以使用
参见:http://stackoverflow.com/questions/43461819/the-listviewitem-style-cant-trigger-unselected
ListViewItem 默认
WPF ListView 宽度
使用下面的代码可以让 WPF 的 ListView 的 Item 宽度和他一样
HorizontalContentAlignment="Stretch"或
<ListBox.ItemContainerStyle> <Style TargetType="ListBoxItem"> <Setter Property="HorizontalContentAlignment" Value="Stretch"></Setter> </Style></ListBox.ItemContainerStyle>
原文链接: http://blog.lindexi.com/post/win10-UWP-ListView-
本作品采用 知识共享署名-非商业性使用-相同方式共享 4.0 国际许可协议 进行许可。 欢迎转载、使用、重新发布,但务必保留文章署名 林德熙 (包含链接: https://blog.lindexi.com ),不得用于商业目的,基于本文修改后的作品务必以相同的许可发布。如有任何疑问,请与我 联系。